 |
Image_123
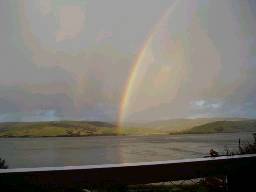
Waikawa Rainbow
|
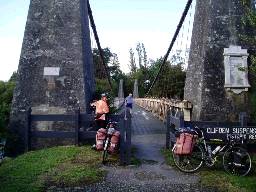 |
Image_131
Clifton Bridge
|
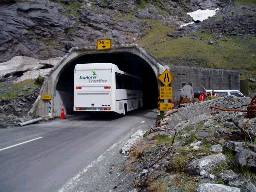 |
Image_154
Homer Tunnel - tight fit
|
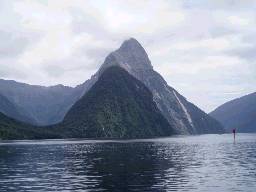 |
Image_155
Mitre Peak - Milford Sound
|
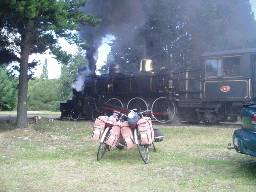 |
Image_185
Kingston Flyer
|
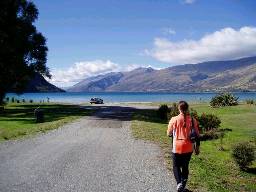 |
Image_188
Lake Wakatipu
|
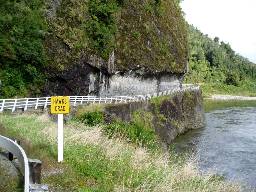 |
Image_64
Lower Buller Gorge - Half Tunnel
|
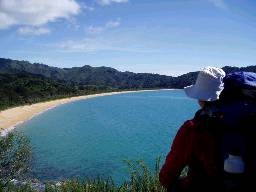 |
Image_81
Able Tasman
|
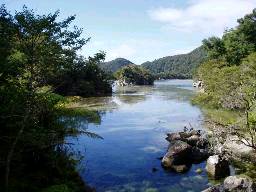 |
Image_97
Able Tasman
|
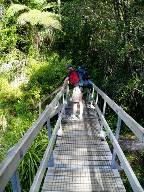 |
Image_98
Able Tasman
|
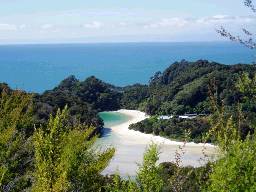 |
Image_103
Able Tasman
|
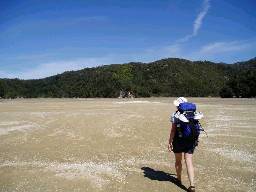 |
Image_112
Able Tasman - Tonga Bay Crossing
|
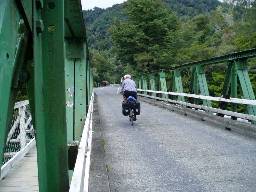 |
P3080009
Pelerous River Bridge
|
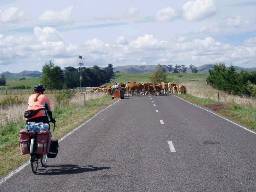 |
P3150044
Linda and Livestock Movements
|
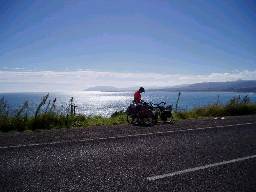 |
P3230079
Coast near Te Kaha
|
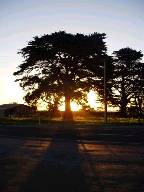 |
P3230082
Sunset at Te Kaha
|
 |
P3240091
Lookout near Hawai
|
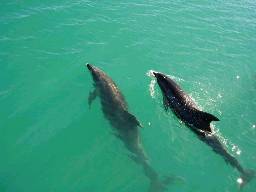 |
P4060141
Bay of Islands - Dolphins
|